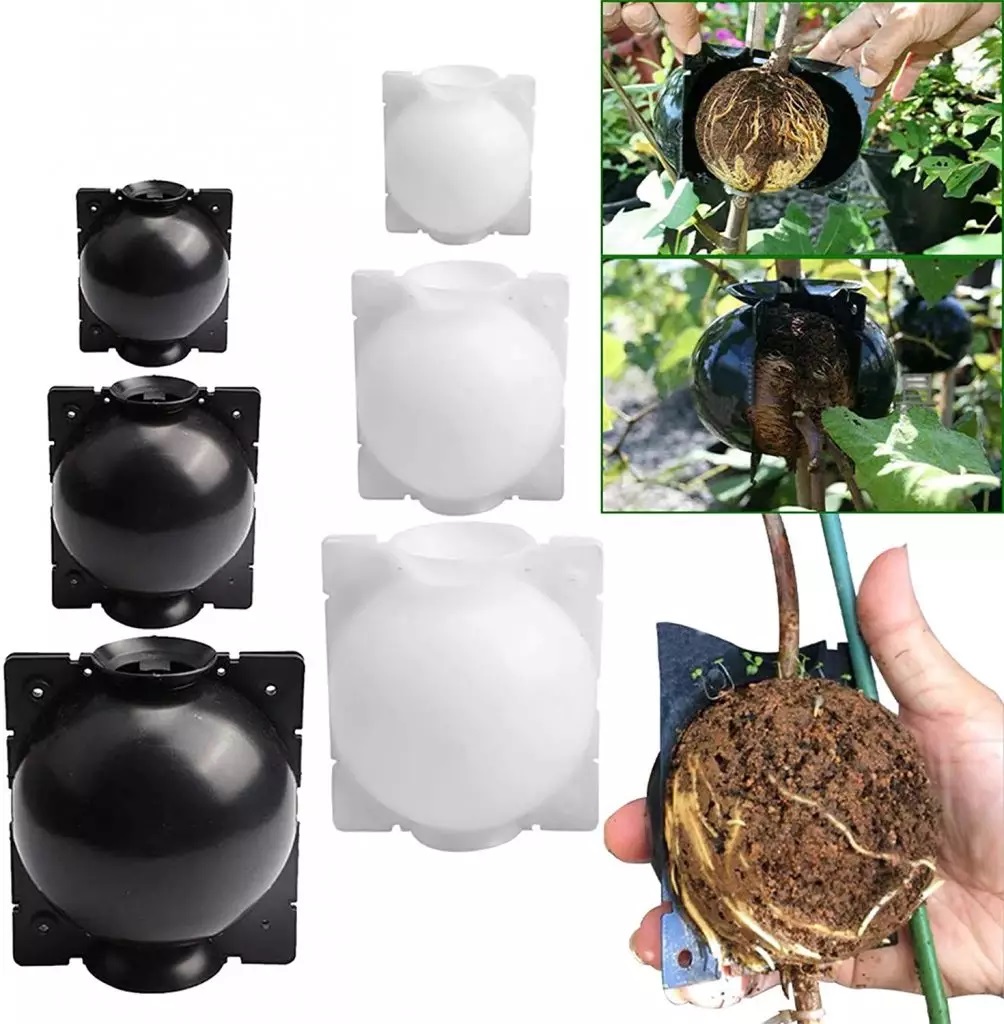
Today, both beginners and experienced gardeners are increasingly using rooting balls for plants. They are suitable for many types of plants and greatly simplify the propagation process, giving the desired result much earlier than otherwise could be achieved. Let’s find out what it is and how to use it.
What Are Rooting Balls for Plants?
The rooting ball for plants is a specially designed tool that helps your cuttings reach stronger roots to reproduce a more mature plant faster than conventional rooting methods. This allows you to see results within 6-8 weeks after installation. This is an ancient method that involves growing roots directly on branches. Suitable for both indoor and outdoor plants such as roses, trees, fruit bushes, fruit trees, hard root plants. In this case, the mother plant is not damaged, as this method uses only a small branch of the plant that you want to clone.

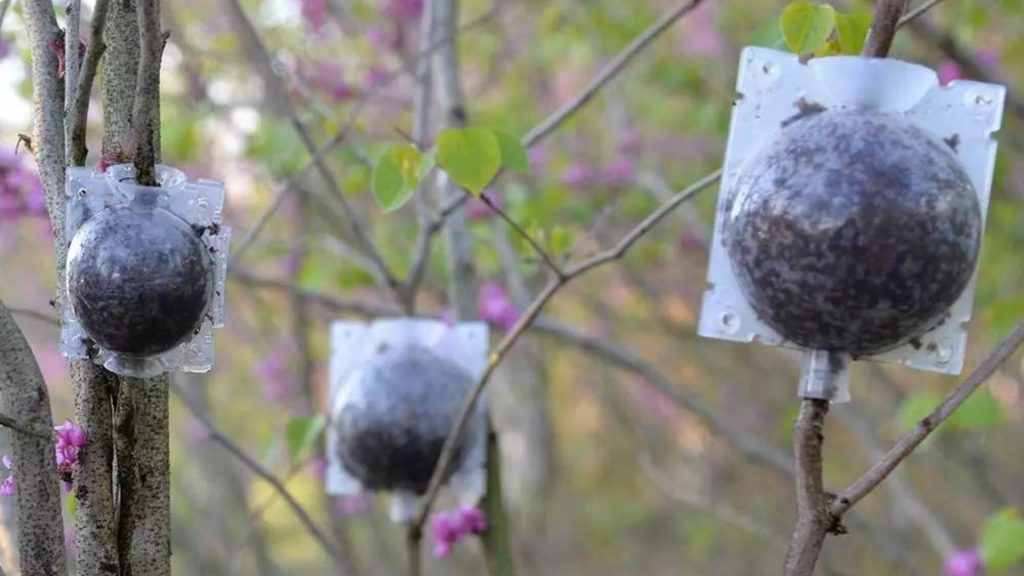
New specimens are most often obtained by Air Layering because this method is almost always successful. Rooting should take place on an unseparated lignified shoot. At 15-25 cm from its top, the bark ring is removed and the damaged area is covered from light. Under these conditions, the formation of roots is possible. If it is surrounded by warm and moist soil, the roots begin to grow vigorously. Then the rooted cut is separated from the mother plant and planted.
In indoor floriculture, it is convenient to propagate large-leaved plants by Air Layering, which abundantly evaporate moisture and therefore root poorly by traditional cuttings, especially in dry rooms. If roots appear on the shoot, they would not dry out after planting.
By the way, this technology has existed in China for a long time. This method was often used when propagating Bonsai, to get a dwarf tree with a spreading crown in a short time.
How to Use a Rooting Ball
Now that we figured out what this miracle technology is and what it is used for, let’s find out how to use a root ball to clone plants.
- First of all, measure the length of the future cut on the shoot. Then make an oblique incision from bottom to top with a depth of 1/3 of the thickness of the stem or trunk. To make the roots appear faster, dust the cut site with a root formation stimulator. You can put a piece of a match, a pebble, or a piece of film inside so that the cut does not drag on.
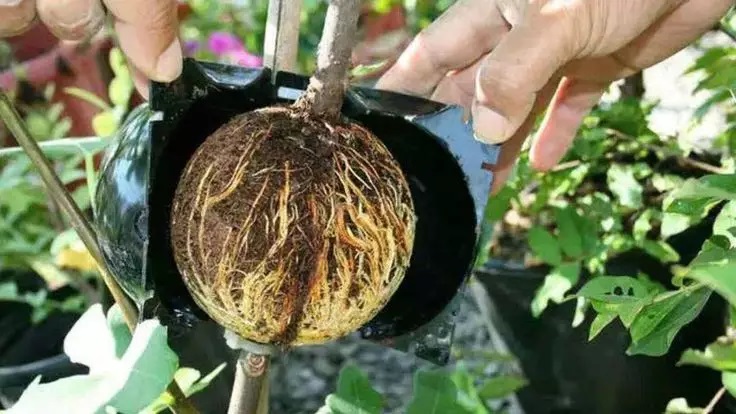
- Just below the cut, attach a rooting ball. Put wet peat, sphagnum (after soaking it overnight), or perlite into it and fix it on the stem. Sphagnum moss is one of the best media for root formation: it retains moisture well, is well aerated, and is easy to handle. Moisture from the ball evaporates slowly, so you do not need to open it often to moisturize.
- After rooting, carefully remove the rooting ball so as not to damage the roots. This is quite simple to do because the balls have secure locks that are easy to handle.
- After you have removed the rooting balls, cut the cutting about 1-1.5 cm below where the roots began to develop. Then remove excess soil and moss, and plant the cutting in a pot of prepared potting soil.
- You can cut off the rest of the shoot or wait for new shoots to appear. They can be rooted in the same way – with an Air Layering.
How to Remove Soil and Moss from Root Ball

Don’t worry, it’s pretty easy to do! To do this, simply fill a bowl or large pot with water. Using water, begin to gently remove any residual soil from the roots with your hands or use a toothpick. You can also part the roots with your fingers as if you were brushing your hair. Then rinse the roots thoroughly under a gentle stream of water.
As you can see, this is a fairly simple technique that can help you get the results you want quickly. The advantage of these rooting balls is that they are reusable and you can propagate your plants as much as you like. This method of plant propagation is within the power of even a novice gardener. It is usually used in the warm season when side shoots are actively growing.


